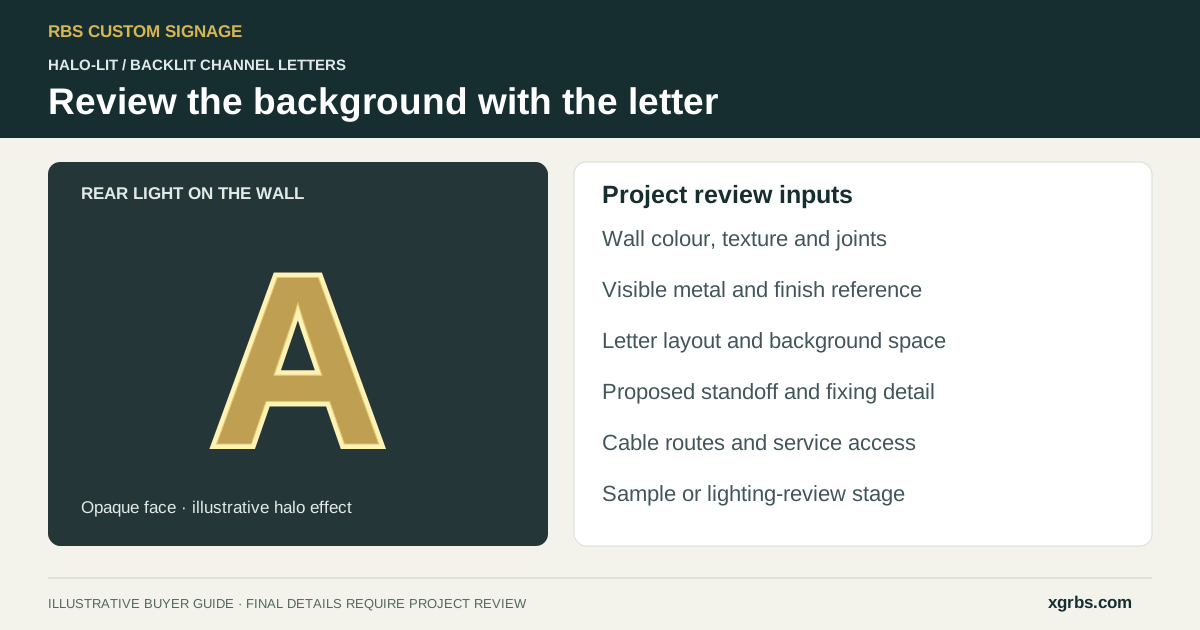
Halo-lit channel letters create their intended effect by directing light behind the letter body onto the mounting background. The wall or backer is therefore part of the visual brief, alongside the letter shape and visible metal finish.
For hotel procurement teams, retail designers and sign contractors, a useful enquiry needs more than a night photograph of another sign. It should connect the proposed letters with the actual wall, spacing, fixing arrangement and access conditions.
RBS manufactures halo-lit channel letters to project specifications. Use this guide to organise the background and mounting information before requesting a quotation or approving a drawing.
What Are Halo-Lit, Backlit and Reverse-Lit Letters?
In this guide, halo-lit, backlit and reverse-lit channel letters describe a rear-illuminated arrangement: the letter body has an opaque face, while light directed behind it creates a glow around its shape on the background.
RBS's backlit letter range includes this type of illumination for interior and exterior branding. The published halo-lit specification includes metal faces and returns, acrylic backs and rear-facing LED illumination.
The terms describe the intended effect. Confirm the actual construction in the drawing, especially when the design also asks for an illuminated face or separate illuminated logo elements.
For an overview of the alternatives, compare front-lit and halo-lit storefront letters.
1. Record the Actual Mounting Background
Provide a straight-on photograph of the sign area and a closer view of the surface. Include the wall colour, texture, material and any visible joints, panels or changes in level.
If the wall finish is still under design, supply the proposed finish reference and mark it as unconfirmed. A smooth panel rendering should not be treated as a record of a different installed surface.
Ask for the intended halo appearance to be reviewed against the proposed background. Where a finish is critical, identify the physical wall or backer sample that should form part of the review.
2. Review the Wall Colour and Letter Finish Together
Separate the colour of the light from the colour and finish of the letter body. Specify the visible face and returns using the agreed metal, paint or decorative-finish reference.
RBS's halo-lit options include stainless steel, aluminium or brass faces and returns, with finish choices subject to project approval. Record brushed direction, polished surfaces and matched colour references where they form part of the design.
Request both a daytime appearance reference and a night-effect reference. Ask the supplier to identify the proposed lighting arrangement, and record which sample or drawing will be used for approval. A screen image should be labelled as a visual reference when a physical finish still needs confirmation.
3. Confirm Letter Layout and Background Space
Send the final wording, vector logo and overall layout dimensions. Include the individual letter heights and the intended position above an entrance, reception desk or other architectural feature.
Show the relationship between the letters, nearby logos, wall edges and visible joints. Ask for closely spaced characters, narrow details and separate graphic elements to be reviewed as one composition.
If the sign contains several groups, identify whether each group uses the same lighting and finish. Record any components that should remain unlit so the drawing does not depend on assumptions from a single reference photograph.
4. Treat Standoff Spacing as a Drawing Detail
The spacing between the letter back and the mounting background should be shown in the proposed construction. It belongs with the letter depth, wall condition, fixing arrangement and intended lighting effect.
Avoid copying a universal distance from a different project. Ask the manufacturer to propose the arrangement for the actual design and coordinate it with the installer. Review any sample or lighting demonstration against the proposed spacing and background.
If a sample is requested, state what it needs to demonstrate: finish, letter construction, illumination or a combination. Record the approved sample reference and clarify which details still require the final installation drawing.
5. Coordinate Fixings, Cable Exits and Service Access
Identify the wall substrate and the proposed fixing or support method. Provide the relevant elevation and note whether access is available behind the sign area.
Show cable exits and the intended power-supply location where these have already been defined. Identify visible cable routes, restricted spaces or removable panels that the installer needs to review.
Ask the project team to confirm how the installation and future service access will be coordinated. Fixing design and electrical arrangements should be reviewed by the responsible installer and reflected in the approved project information.
This brief should identify the information needed for review; final dimensions and construction remain specific to the sign and location.
6. State the Environment and Lighting Requirement
Tell the supplier whether the sign is intended for an interior or an exposed exterior location. Describe the actual installation conditions and provide any requirements already specified by the project team.
State the preferred light colour, operating arrangement and destination country. If the project requires particular components, documentation or controls, include those requirements with the first enquiry so the quotation can identify the proposed scope.
Ask what evidence is available for the selected configuration. Do not infer a complete sign specification from the appearance of a sample or the description of an individual lighting component.
Halo-Lit Letter Review Checklist
| Review item | Input for the drawing or quotation |
|---|---|
| Background | Wall or backer photos, colour, texture, joints and finish reference. |
| Artwork and layout | Vector files, final wording, overall dimensions and letter positions. |
| Visible letter body | Face and return materials, finish, colour and grain direction where specified. |
| Halo effect | Light-colour reference, intended appearance and sample-review requirement. |
| Spacing and fixing | Proposed standoff arrangement, substrate and responsible installation review. |
| Access | Cable exits, power-supply location and installation or service constraints. |
| Order details | Complete-set quantities, drawing revision, approval stages and delivery destination. |
Approve the Drawing, Finish and Lighting Reference
Review the final wording, dimensions, letter spacing, visible finish, rear-illumination instructions and mounting arrangement together. Return comments against one drawing revision and identify details that remain open.
Where a physical sample is required, confirm the charges, scope and approval arrangement in the quotation. RBS confirms construction, dimensions, MOQ, lighting components and lead time for each project.
For several locations, record any differences in wall finish, layout or mounting conditions rather than treating every branch as an identical installation. Ask for set labels and packing groups that match the approved location schedule.
Frequently Asked Questions
Is halo illumination the same as an illuminated front face?
No. Halo illumination directs light onto the background behind an opaque letter body. An illuminated front face is a separate effect. A combined arrangement should be specified explicitly in the drawing.
What wall information should I send for a quotation?
Send a straight-on site photograph, a close view of the surface, the wall or backer finish reference and the relevant dimensions. Identify unconfirmed finishes, joints and access constraints.
Is there one standard distance between halo-lit letters and the wall?
This guide does not prescribe one distance for every sign. Ask for the proposed spacing to be reviewed with the letter construction, background, fixing method and intended effect, then shown in the approved drawing.
Can halo-lit letters be specified for an outdoor storefront?
RBS reviews interior and exterior halo-lit projects. Supply the actual installation conditions and requested project documentation so the proposed materials, lighting and mounting scope can be confirmed in the quotation.
Request a Halo-Lit Letter Project Review
Send the artwork, dimensions, quantity, preferred metal finish, light colour, wall photographs and installation information. Include any sample-review request and the delivery country or postal code.
Use the RBS quotation page or email xiaronggao168@gmail.com. Attach the files in your selected email or messaging application and press Send to complete the enquiry.